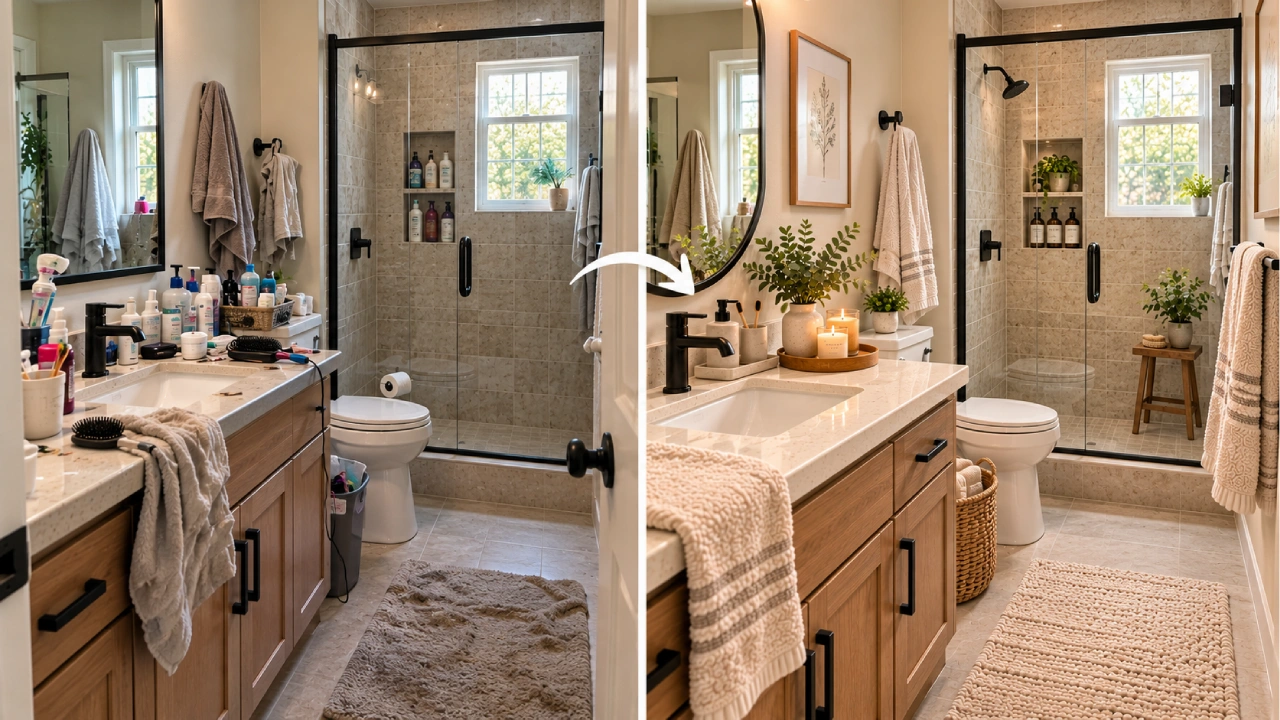
A bathroom doesn’t need a major renovation to feel fresh, polished, and expensive. Sometimes, a few well-chosen accessories can completely change the look of the space. This Before & After: A $40 Bathroom Accessories Refresh That Looks Custom proves just how much difference small details can make. By coordinating finishes, improving organization, and adding a few simple decorative touches, you can transform an ordinary bathroom into a space that feels intentional, stylish, and beautifully put together—all without replacing the vanity, tile, or fixtures.
1. Before: Start With the Mismatched Accessories
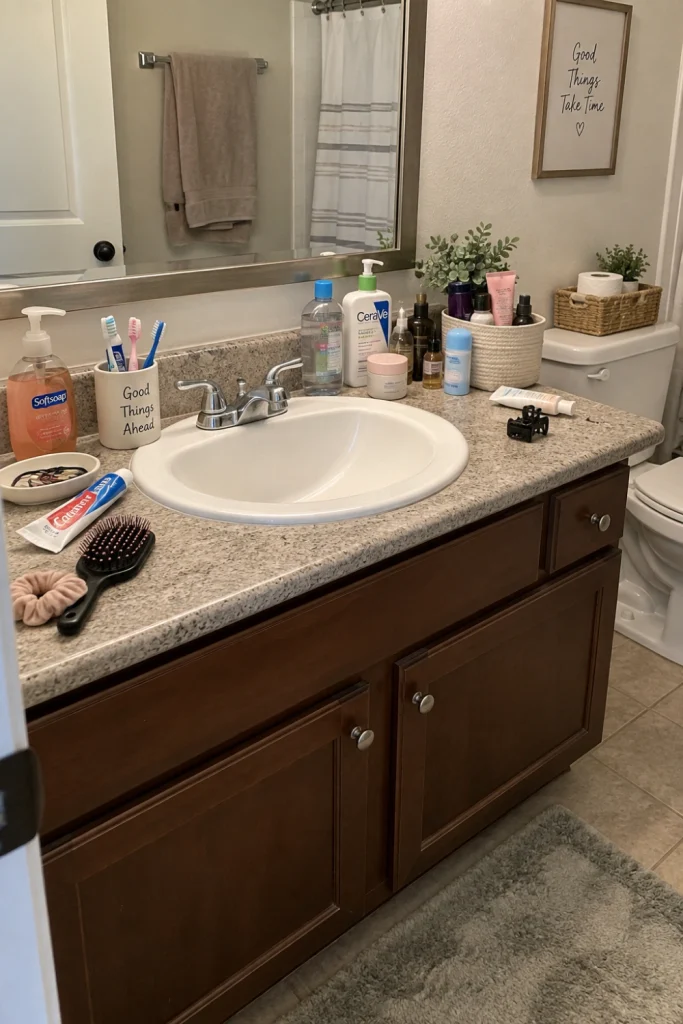
Picture the starting point: an old plastic soap dispenser, a random toothbrush holder, a faded bath mat, and everyday products scattered across the vanity.
The bathroom itself may be perfectly functional. The issue is that all those unrelated little details create visual clutter.
Simple steps:
- Remove everything from the countertop.
- Group similar items together.
- Set aside anything worn, mismatched, or unnecessary.
- Wipe down the entire countertop before styling it again.
Tip: Don’t throw away useful pieces automatically. If something still works and fits your new color palette, keep it.
2. After: Choose a Simple Color Palette
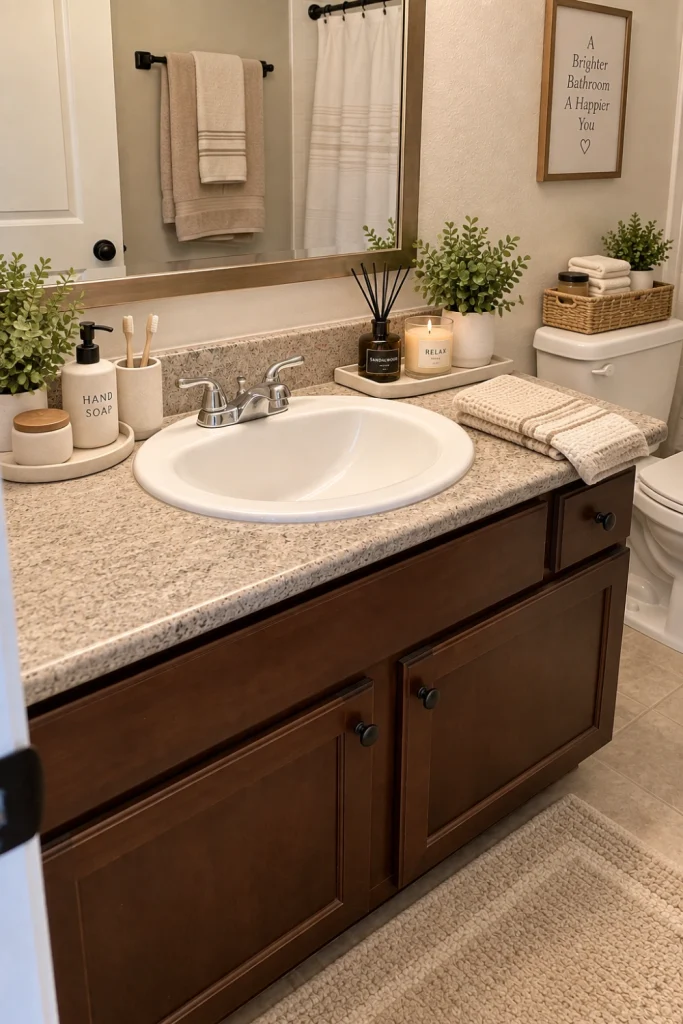
One of the easiest ways to make inexpensive bathroom accessories look more upscale is to make them look as though they were purchased as a set.
Choose two or three colors and repeat them throughout the room. Warm white, beige, and matte black, for example, can create a modern, spa-inspired look.
Simple steps:
- Choose one dominant neutral.
- Pick one accent color.
- Select a consistent hardware finish.
- Repeat those tones across your accessories.
Tip: When you’re unsure what colors to choose, stick with neutrals. They’re timeless and make budget-friendly pieces look more sophisticated.
3. Swap the Soap Dispenser
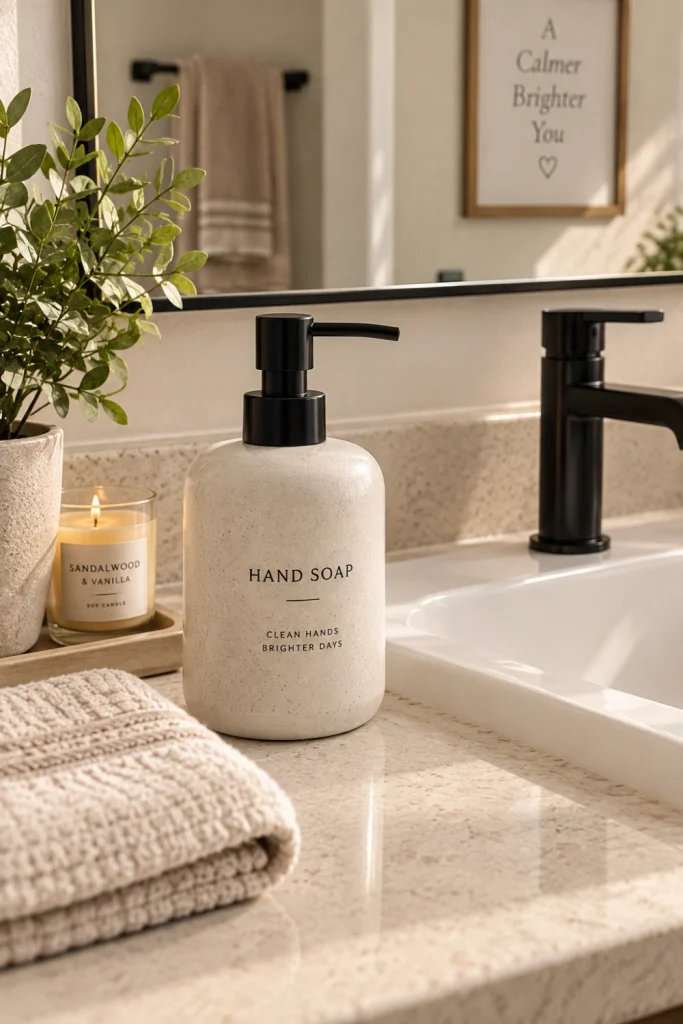
That brightly colored plastic soap bottle may be practical, but it can instantly make a countertop feel less polished.
A simple refillable dispenser is a small upgrade that can have a surprisingly big impact. Look for ceramic, glass, stone-look, or matte-finish styles.
Simple steps:
- Choose a dispenser that complements your color scheme.
- Fill it with your favorite liquid soap.
- Clean away fingerprints and residue.
- Position it beside the sink for easy access.
Tip: A minimalist label—or no label at all—usually creates a cleaner, more custom appearance.
4. Upgrade the Toothbrush Holder
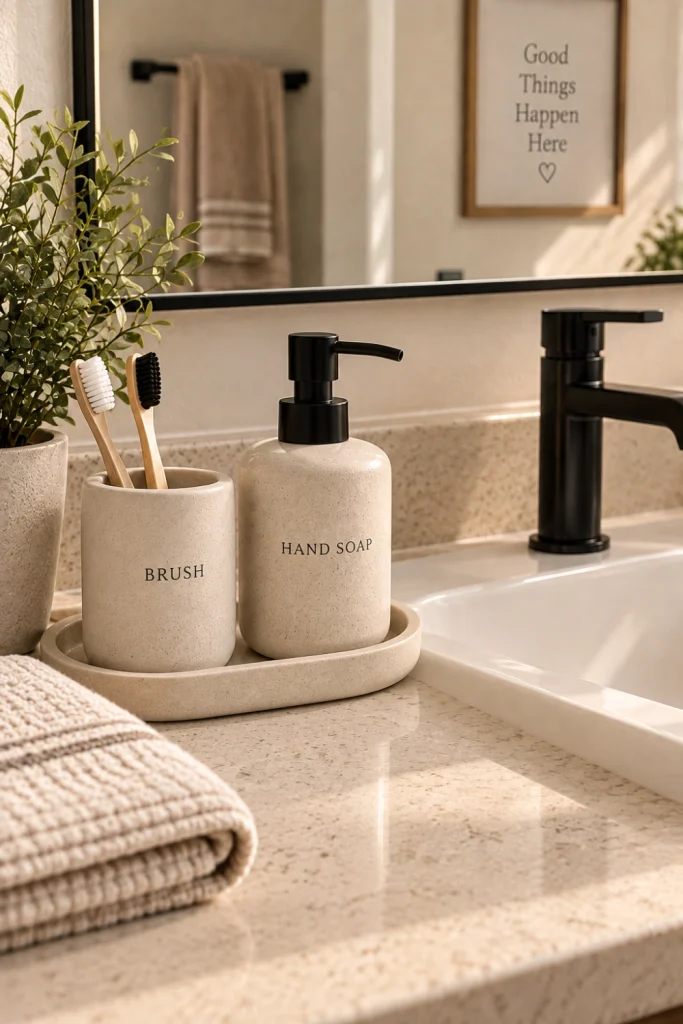
Small accessories are often more noticeable than you realize. A coordinated toothbrush holder can replace a basic plastic cup and instantly give the vanity more structure.
Simple steps:
- Choose a holder that complements the soap dispenser.
- Keep only everyday essentials inside.
- Place it somewhere convenient beside the sink.
- Remove unnecessary items from the countertop.
Tip: Matching the toothbrush holder and soap dispenser makes even inexpensive accessories look like part of a curated bathroom set.
5. Add a $10–$15 Bath Mat
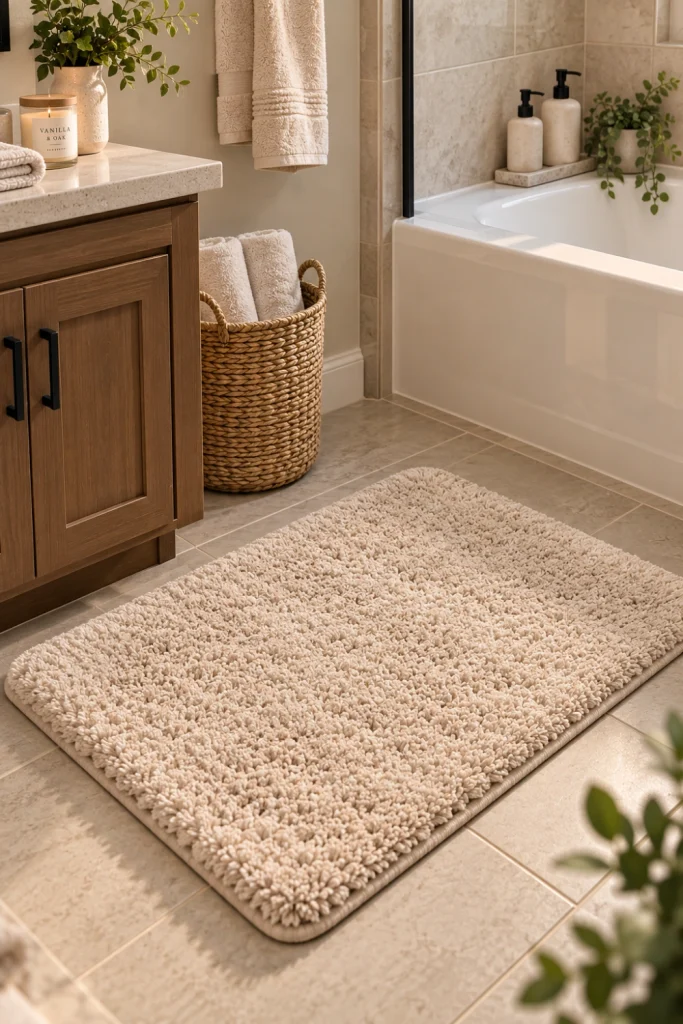
Don’t underestimate the power of a bath mat. Because it covers a noticeable amount of floor space, changing it can dramatically affect the room’s overall appearance.
Replace a faded or overly busy mat with a plush, neutral option in cream, beige, charcoal, or soft gray.
Simple steps:
- Measure your available floor space.
- Choose a washable mat.
- Pick a color that complements your bathroom.
- Place it outside the tub or shower.
Tip: Subtle texture often looks more designer-inspired than a loud pattern.
6. Make the Towels Look More Luxurious
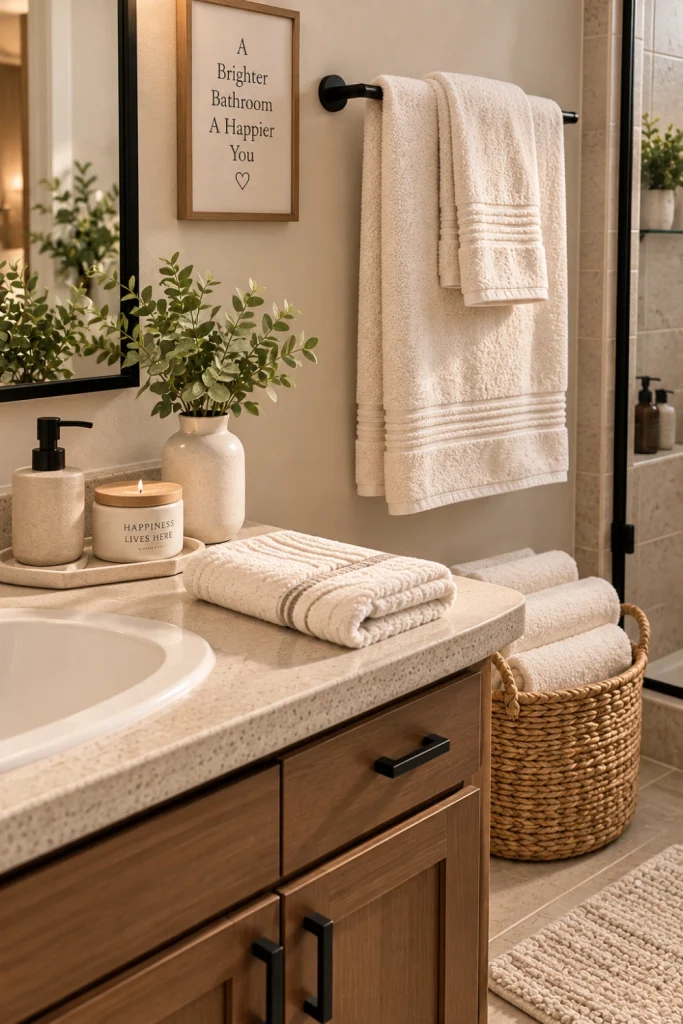
You don’t need a complete collection of expensive towels to create a more polished bathroom.
Even two fresh hand towels can make the space feel cleaner and more intentional when they’re folded or hung neatly.
Simple steps:
- Choose towels in a coordinating color.
- Fold or roll them neatly.
- Place hand towels somewhere easily accessible.
- Store extras instead of overcrowding the room.
Tip: White and neutral towels are especially effective if you’re going for a clean, hotel-inspired atmosphere.
7. Introduce a Small Decorative Tray
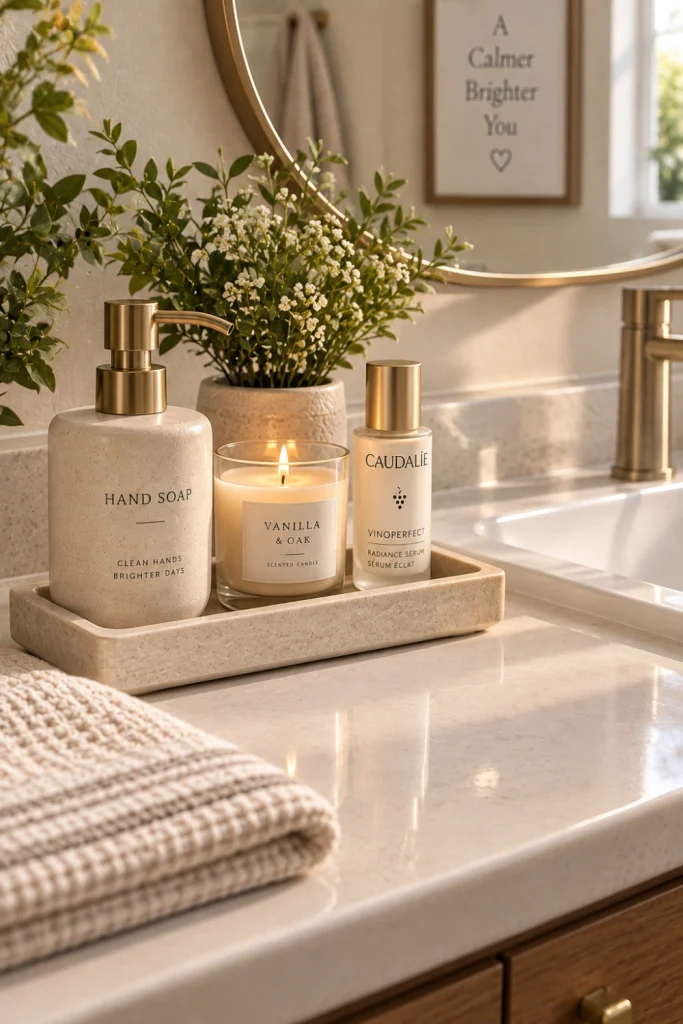
A small tray can make several inexpensive bathroom items look like a deliberate arrangement instead of random objects sitting on the counter.
Use it for hand soap, skincare, perfume, or one small decorative accent.
Simple steps:
- Choose a small wood, acrylic, ceramic, or metal tray.
- Add only a few useful items.
- Group similar products together.
- Leave some empty space around the arrangement.
Tip: Don’t fill every inch of the tray. Negative space is what makes the display feel intentional.
8. Hide Everyday Bathroom Clutter
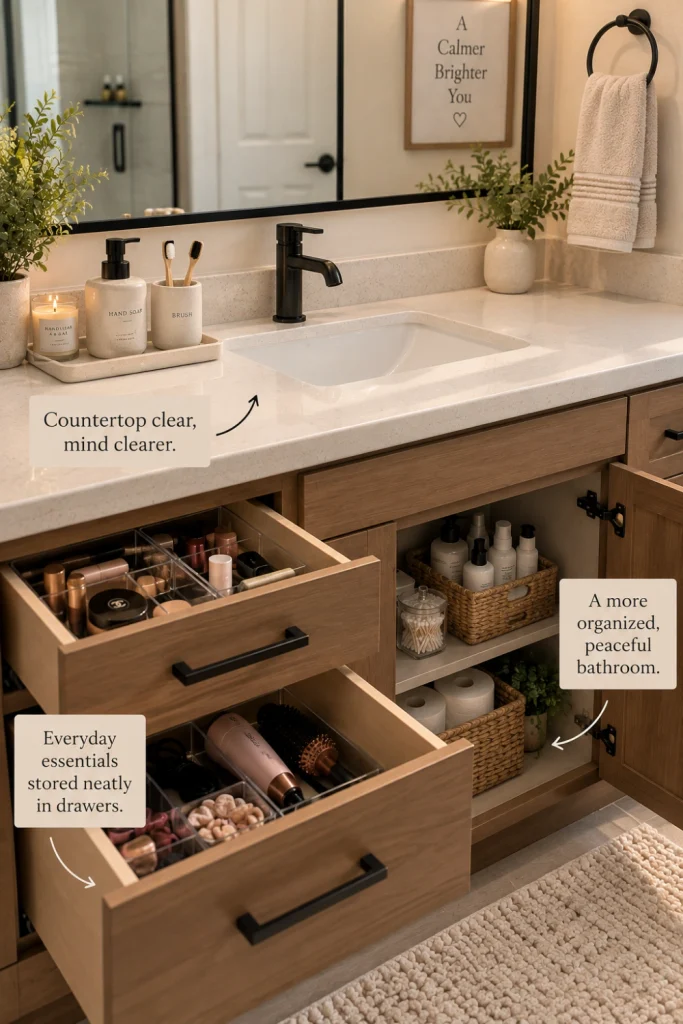
This is where the transformation really starts to feel custom.
Even beautiful accessories can look messy when they’re surrounded by makeup, hair products, cords, extra bottles, and miscellaneous items.
Simple steps:
- Remove products you rarely use.
- Store backups inside drawers or cabinets.
- Use small containers for frequently used items.
- Keep the main vanity surface as clear as possible.
Tip: If an item doesn’t need to live on the countertop, give it another home.
9. Add One Natural Element
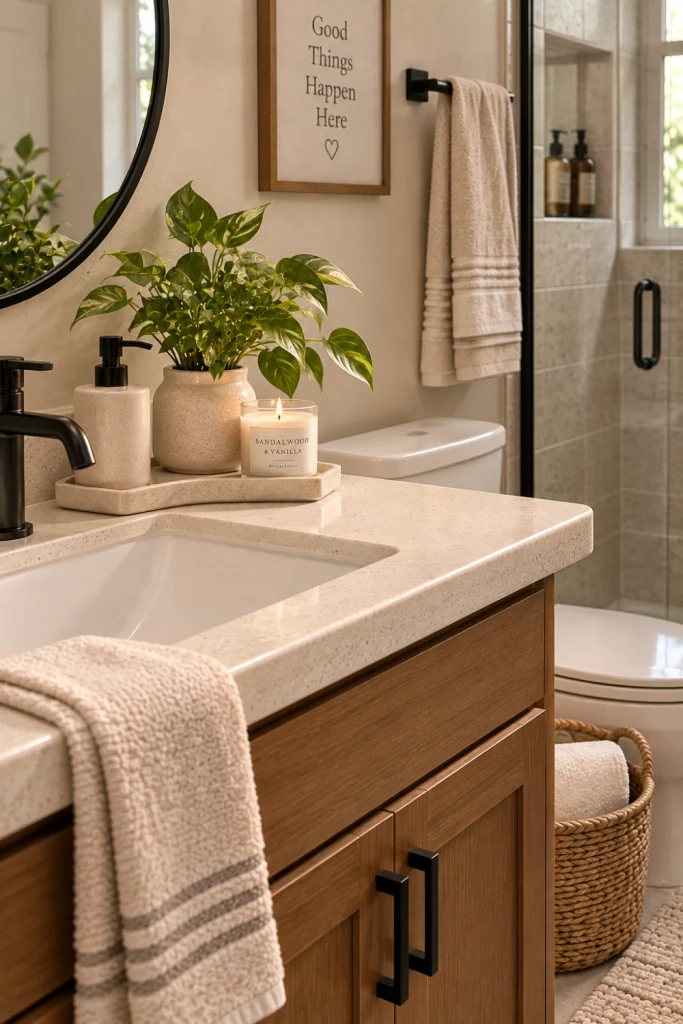
Bathrooms contain plenty of hard surfaces—tile, glass, metal, and ceramic. A small natural element can soften the look.
Try a tiny plant, a simple vase, or a eucalyptus-style stem.
Simple steps:
- Choose one small natural-looking accent.
- Place it on a shelf or quiet vanity corner.
- Keep it away from areas where water could damage it.
- Choose a container that complements the rest of the room.
Tip: If your bathroom doesn’t receive enough natural light, a realistic faux plant can provide the same decorative effect.
10. Repeat One Finish
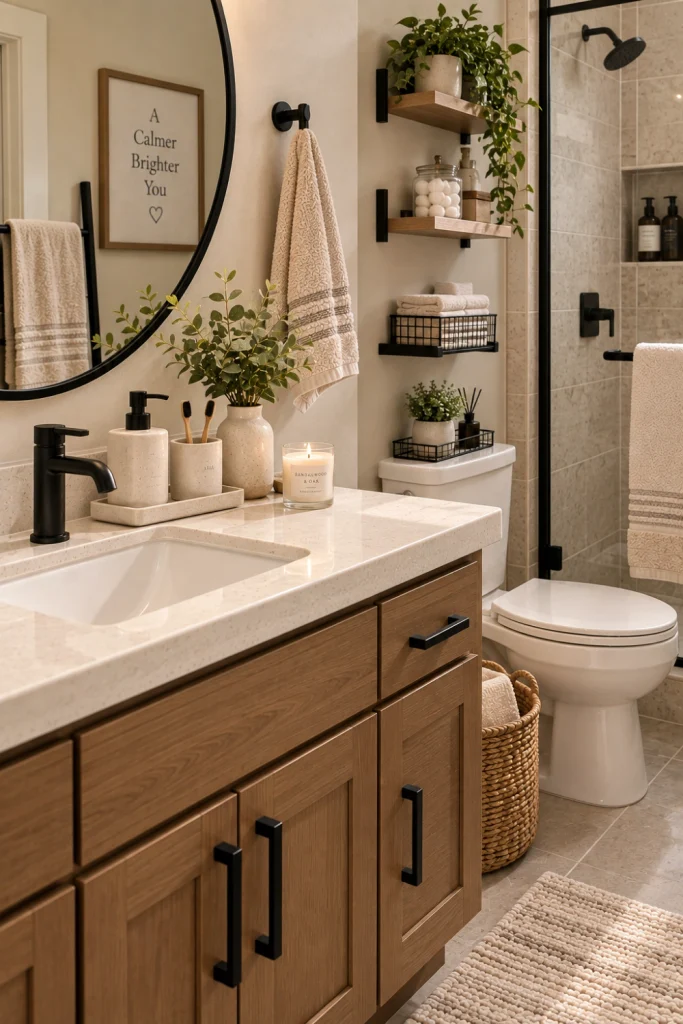
Here’s a simple designer trick that works especially well when you’re decorating on a budget: repeat one finish several times.
For example, if you choose matte black, you could repeat it through a soap dispenser, tray detail, towel hook, or small storage container.
Simple steps:
- Select one primary finish.
- Find two or three places to repeat it.
- Avoid adding too many competing finishes.
- Keep everything else relatively simple.
Tip: Repetition creates cohesion. You don’t need expensive accessories when the pieces look like they belong together.
11. Create an Organized Vanity
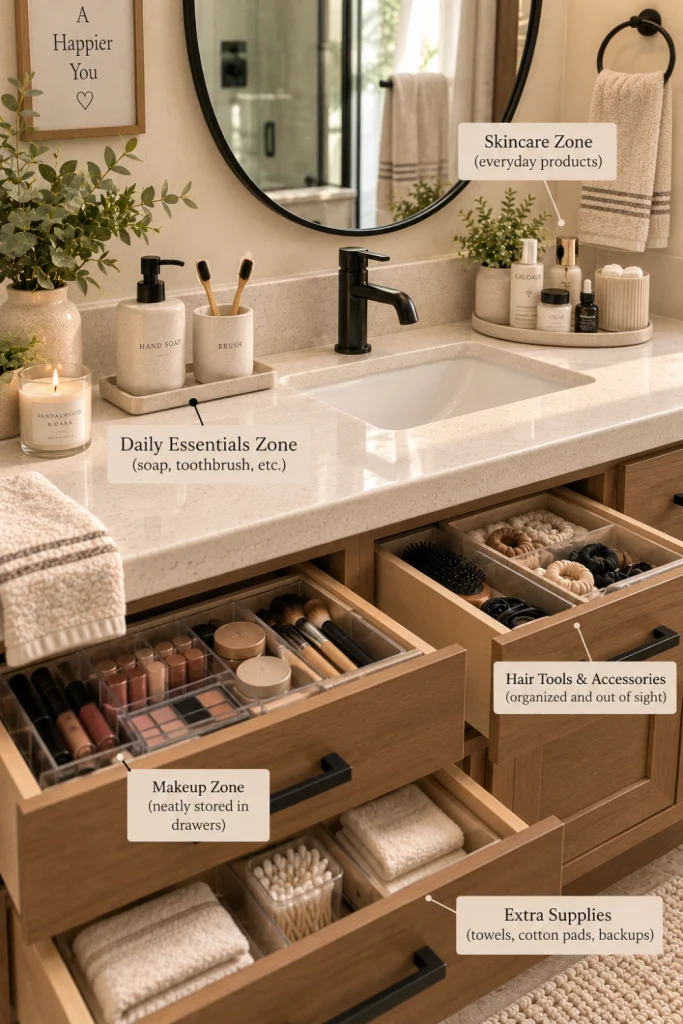
Organization alone can make a dated bathroom feel noticeably better.
Instead of keeping everything within sight, create simple zones for different types of products.
Simple steps:
- Reserve one area for handwashing essentials.
- Create a separate spot for skincare.
- Keep makeup and hair products together.
- Move decorative items away from high-use areas.
Tip: The best bathroom organization isn’t just pretty—it makes your everyday routine easier.
12. Stick to the $40 Budget
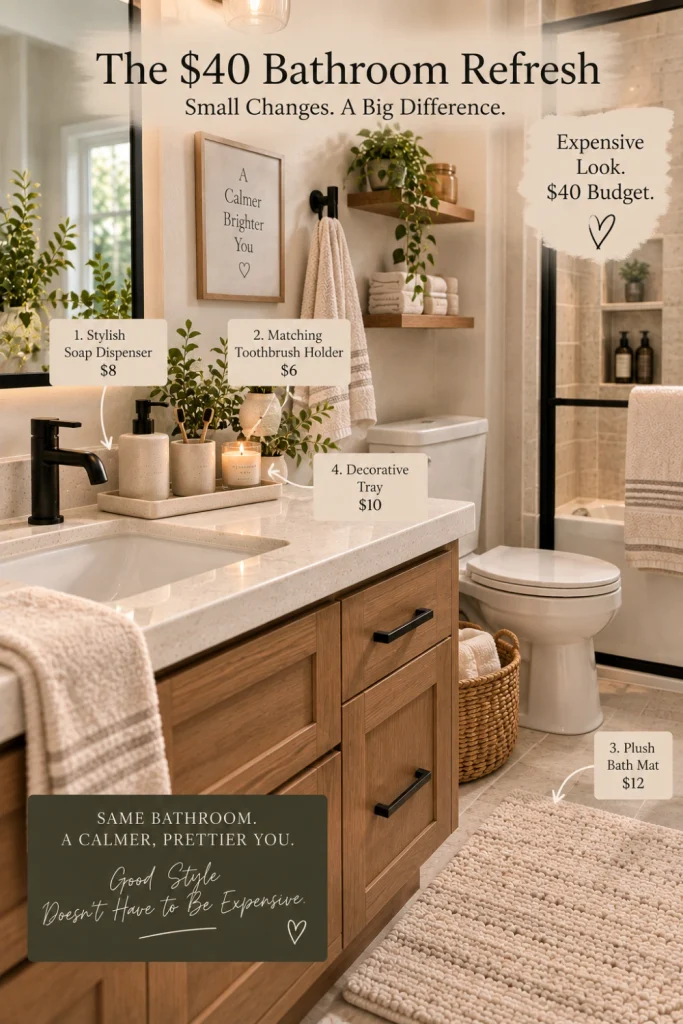
You don’t need to replace every accessory to achieve the transformation. Focus your budget on the pieces that are most visible.
A simple $40 refresh could look like this:
- Soap dispenser — $8
- Toothbrush holder — $7
- Bath mat — $15
- Small decorative tray — $10
Total: $40
Simple steps:
- Set your maximum budget before shopping.
- Prioritize the most noticeable pieces.
- Compare prices before purchasing.
- Reuse anything you already own that fits the new style.
Tip: Spend more of the budget on pieces that occupy more visual space, such as the bath mat.
13. Style the Finished Bathroom
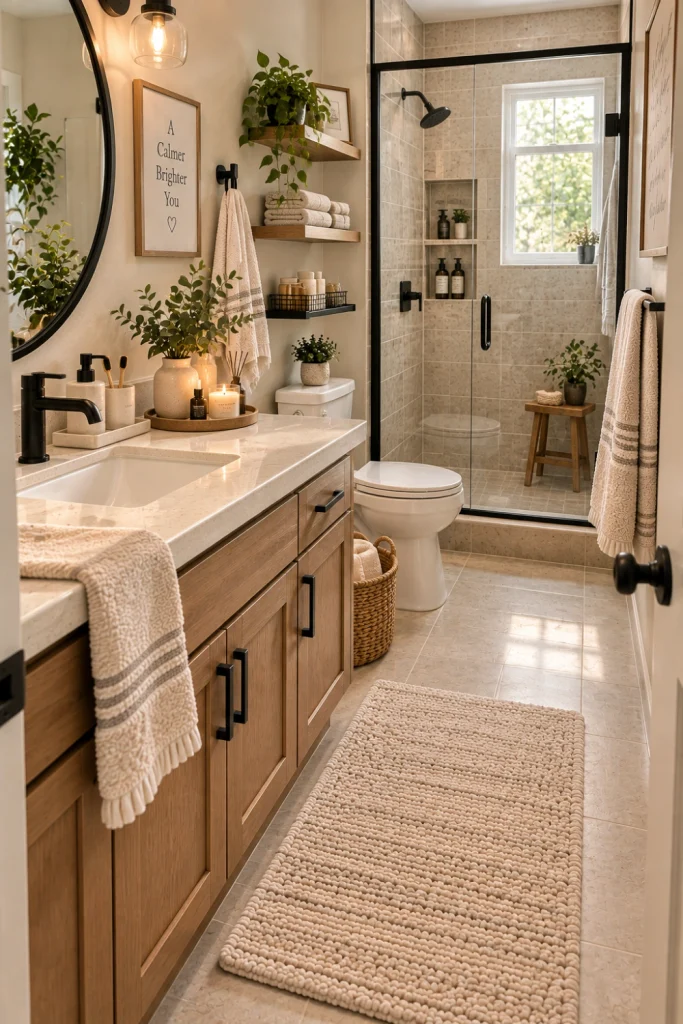
Now it’s time to bring everything together.
Resist the urge to fill every empty surface. A polished bathroom usually feels better when there is room for the eye to rest.
Simple steps:
- Place the soap dispenser and toothbrush holder near the sink.
- Add the tray to one side of the vanity.
- Fold or hang a fresh hand towel nearby.
- Position your decorative accent away from high-use areas.
- Step back and remove anything that feels unnecessary.
Tip: Before buying another accessory, try removing one. You may discover that the bathroom looks better with less.
14. Make the Shower Area Match
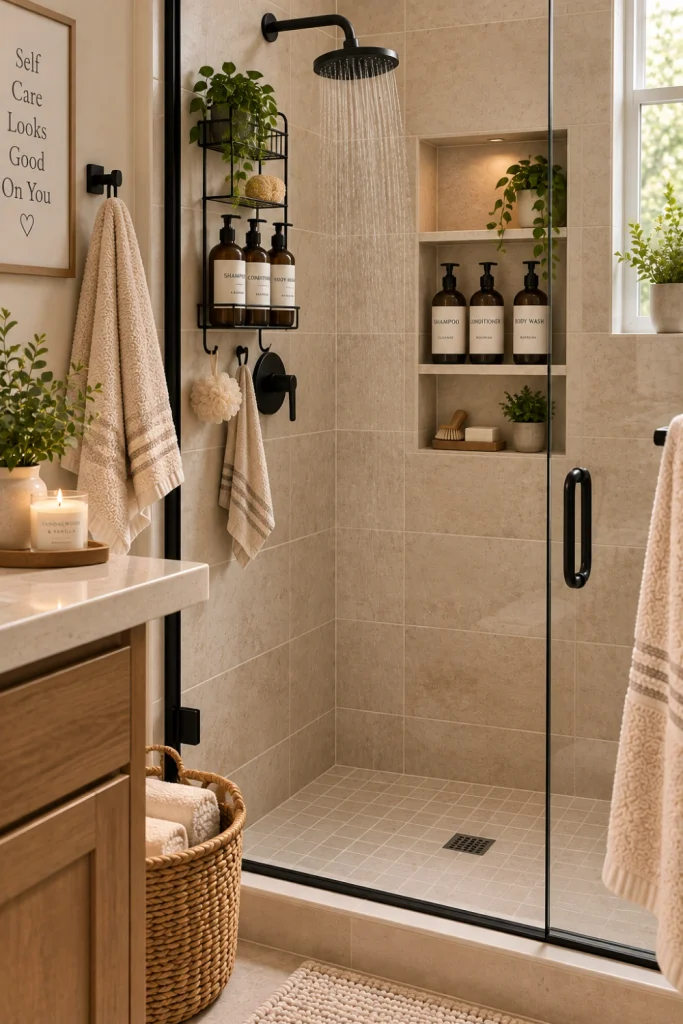
Don’t stop with the vanity. A coordinated shower area helps the entire bathroom feel intentional.
Start by getting rid of empty bottles and organizing the products you actually use.
Simple steps:
- Remove empty shampoo and conditioner bottles.
- Group frequently used products together.
- Add a simple shower caddy if necessary.
- Store excess products somewhere else.
Tip: Matching refillable bottles can take the streamlined look even further.
15. Appreciate the Final Before & After
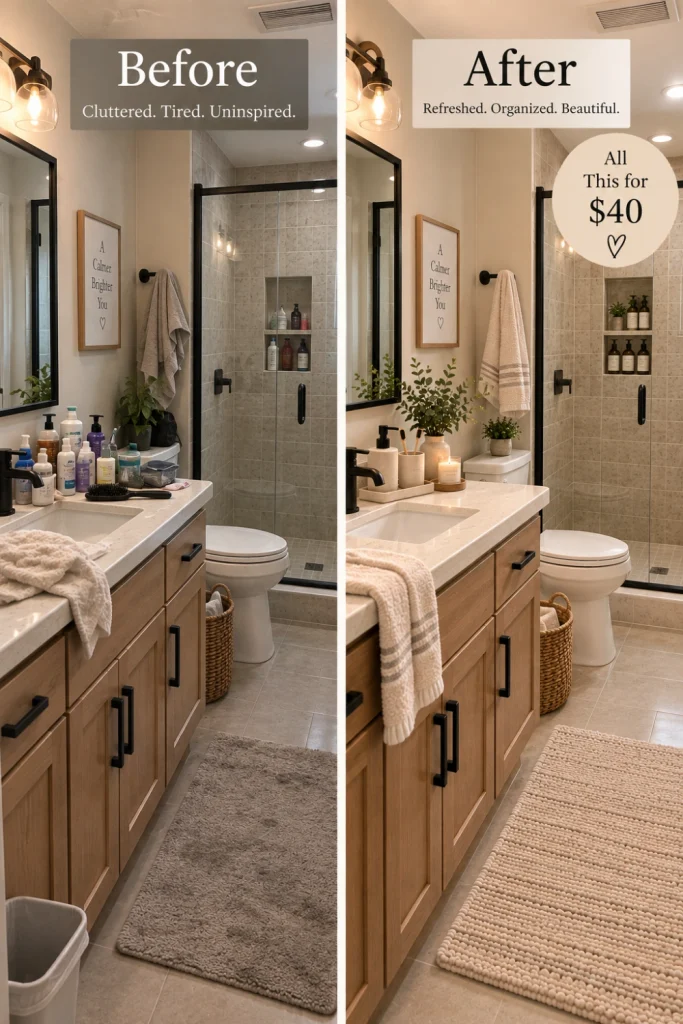
The best part of this makeover is that you don’t need to change the major features of the room.
The existing tile, vanity, mirror, flooring, and fixtures can stay exactly where they are. The accessories do the visual work.
Simple steps:
- Look at the bathroom from the doorway.
- Identify any remaining visual clutter.
- Remove anything that doesn’t serve a purpose.
- Check that your colors and finishes repeat naturally.
- Leave enough empty space for the design to breathe.
Tip: Take a before-and-after photo from the same angle. The difference can be much more dramatic when you see the two images side by side.
Final Thoughts
A bathroom refresh doesn’t have to involve new tile, expensive lighting, or a completely new vanity. With around $40, a few strategic accessory swaps can create a surprisingly polished transformation.
Start by clearing the room and establishing a simple color palette. Then replace the most noticeable mismatched pieces, add a little organization, and introduce one or two decorative touches.
The real secret isn’t buying more. It’s choosing better, coordinating what you already have, and removing unnecessary clutter.
So before you add another basket, candle, or decorative object, step back and look at the entire room. A custom-looking bathroom isn’t created by filling every empty corner. It’s created through coordination, organization, repetition, and restraint.
And that’s how a simple $40 bathroom accessories refresh can make an ordinary bathroom look surprisingly expensive.