Ever wish you could have cheesecake without the absolute drama of making a full one? Seriously, who has time for water baths and cracking tops? I sure don’t. That’s exactly why I perfected these 5-Ingredient Strawberry Cheesecake Bites. They are ridiculous. Ridiculously easy, ridiculously fast, and ridiculously good. Let’s get right into how you can make these little bites of heaven, shall we? You’ll thank me later, I promise. IMO, this is the ultimate dessert hack. 🙂
Section 1: Gather Your Squad (The Ingredients)
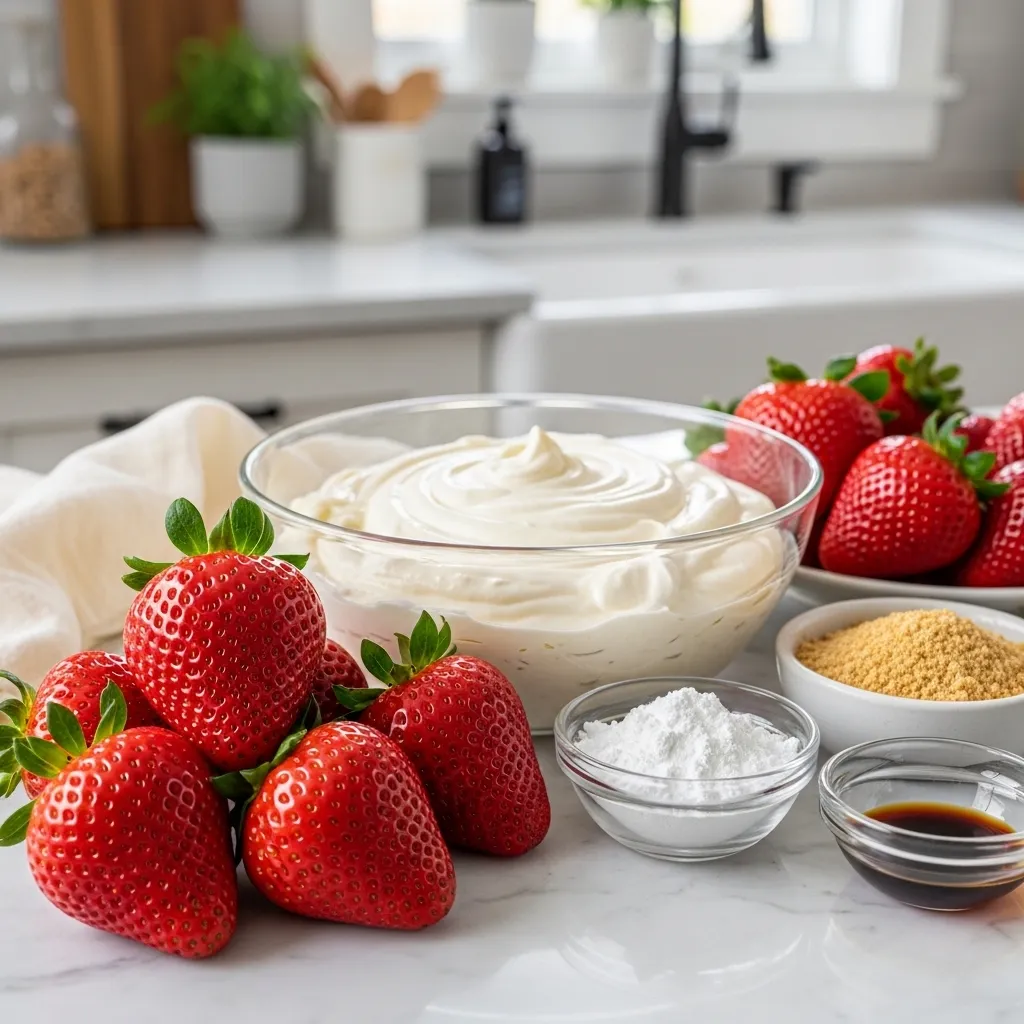
First things first: you only need five things. That’s it. Stop scrolling through complicated recipes and just look at how simple this is.
- Fresh strawberries (obviously)
- A block of cream cheese (softened!)
- Powdered sugar (for sweetness)
- Graham cracker crumbs (the ‘crust’)
- Vanilla extract (flavour enhancer)
You need to make sure your cream cheese is actually room temp. Seriously, don’t ignore this part or you’ll end up with lumpy filling. I hate when that happens. The powdered sugar makes everything silky smooth, much better than regular white sugar. Grab the biggest, reddest strawberries you can find for maximum deliciousness. It really makes a difference.
Things to Double-Check
- Make sure you soften the cream cheese completely.
- Pick the freshest, biggest strawberries you can find.
- Get a good quality vanilla extract (it really helps!).
Section 2: Prep Those Berries Like a Pro
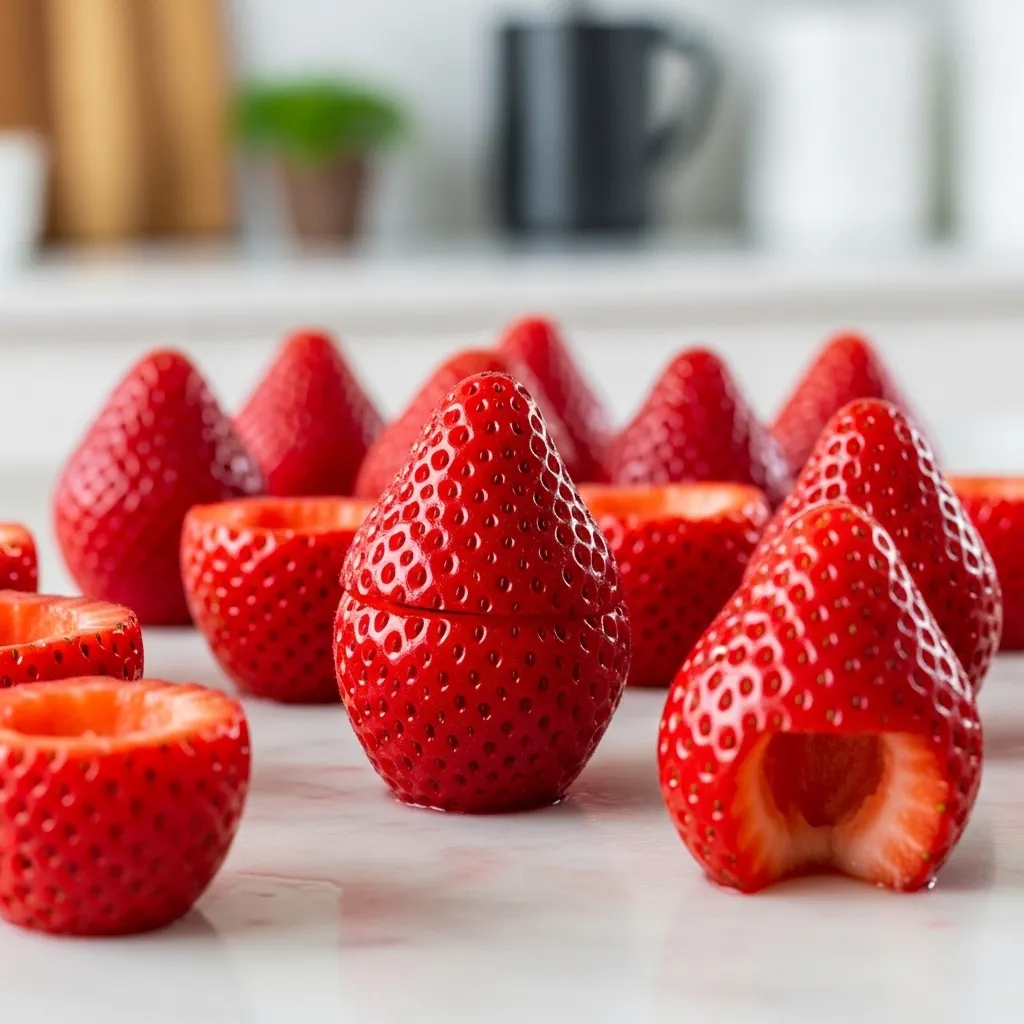
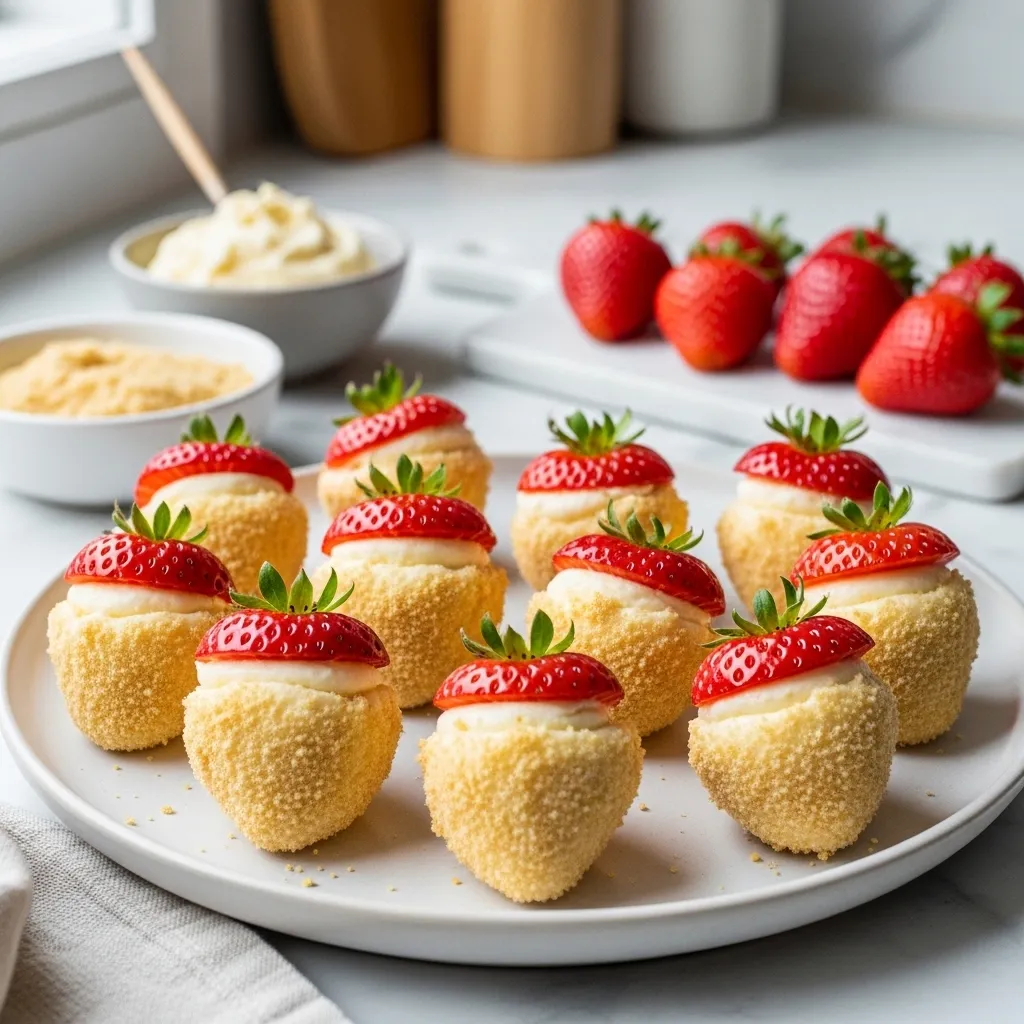
Alright, time to get those strawberries ready for their delicious new filling. This isn’t brain surgery, but you want to do it neatly. We’re essentially turning them into edible cups. It’s kinda satisfying if I’m being honest.
First, wash and dry every single berry. Excess moisture is your enemy here. No one likes a soggy strawberry. I’m picky about that! Next, use a small, sharp paring knife or a strawberry huller to remove the leafy top.
After hulling, you need to hollow them out just a bit. Be gentle; you don’t want to pierce the sides. You’re just creating a little space for that glorious cheesecake mixture. If the strawberries are really large, sometimes I slice a tiny bit off the bottom so they stand up. Clever, right? No wobbly bites for us!
Strawberry Prep Checklist
- Wash and thoroughly dry every strawberry first.
- Hull the berries and gently hollow out the centers.
- Trim the very bottom if they won’t stand up straight.
Section 3: The Creamiest, Easiest Filling Ever
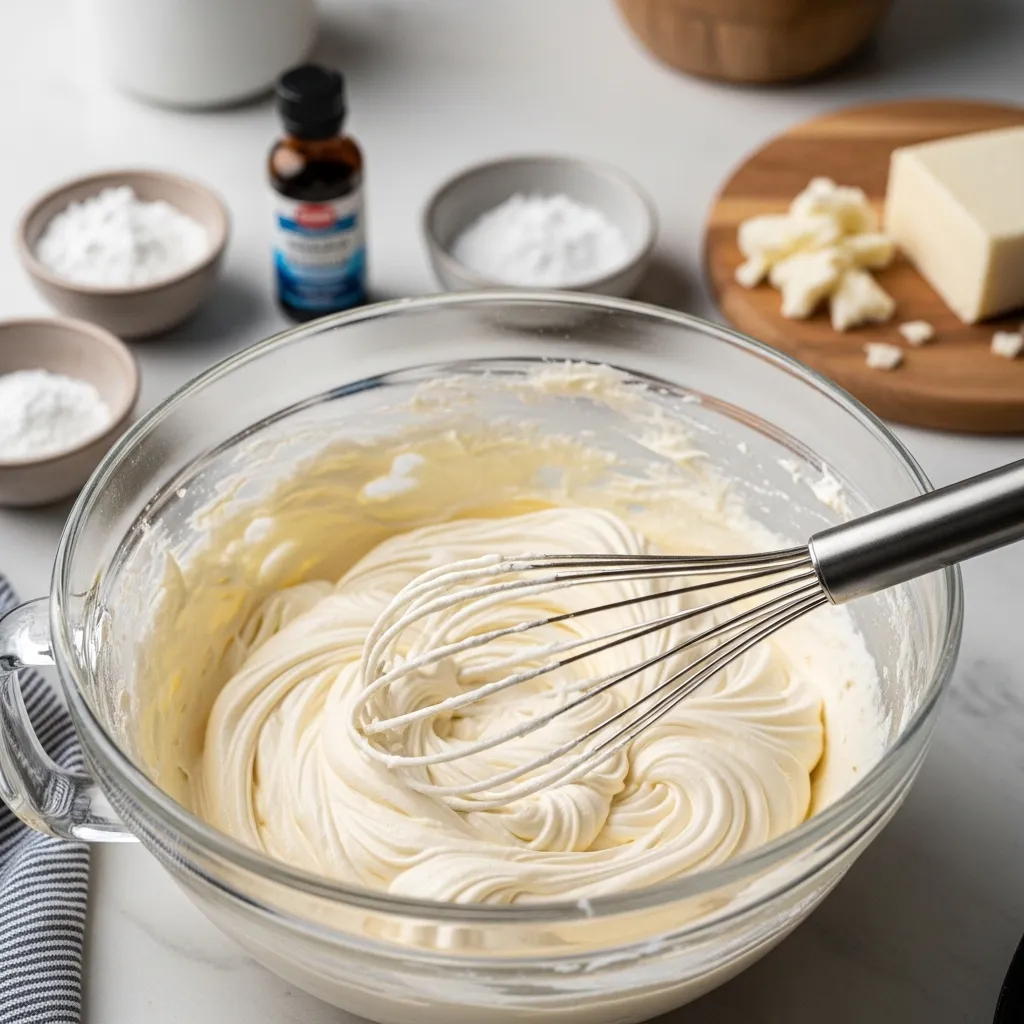
Now comes the magic. We’re making the filling, and since we’re using only a few ingredients, it comes together in minutes. This is where that softened cream cheese really pays off.
Grab your mixing bowl and put the softened cream cheese in first. Cream it by itself for a minute to ensure it’s fluffy. Then, add the powdered sugar and vanilla. Beat it again until everything is perfectly combined and smooth as silk. Give it a taste. Isn’t that incredible for zero effort?
If you have a hand mixer, use it. But seriously, don’t even think about using an immersion blender for this. You’ll overwork it. A simple electric mixer or even a lot of elbow grease with a sturdy whisk does the trick beautifully. The goal is creamy, not dense.
Filling Perfection Steps
- Cream the softened cream cheese until it’s light and fluffy.
- Mix in the powdered sugar and vanilla extract.
- Stop mixing once it’s fully combined and silky.
Section 4: Stuffing the Strawberries (The Fun Part)
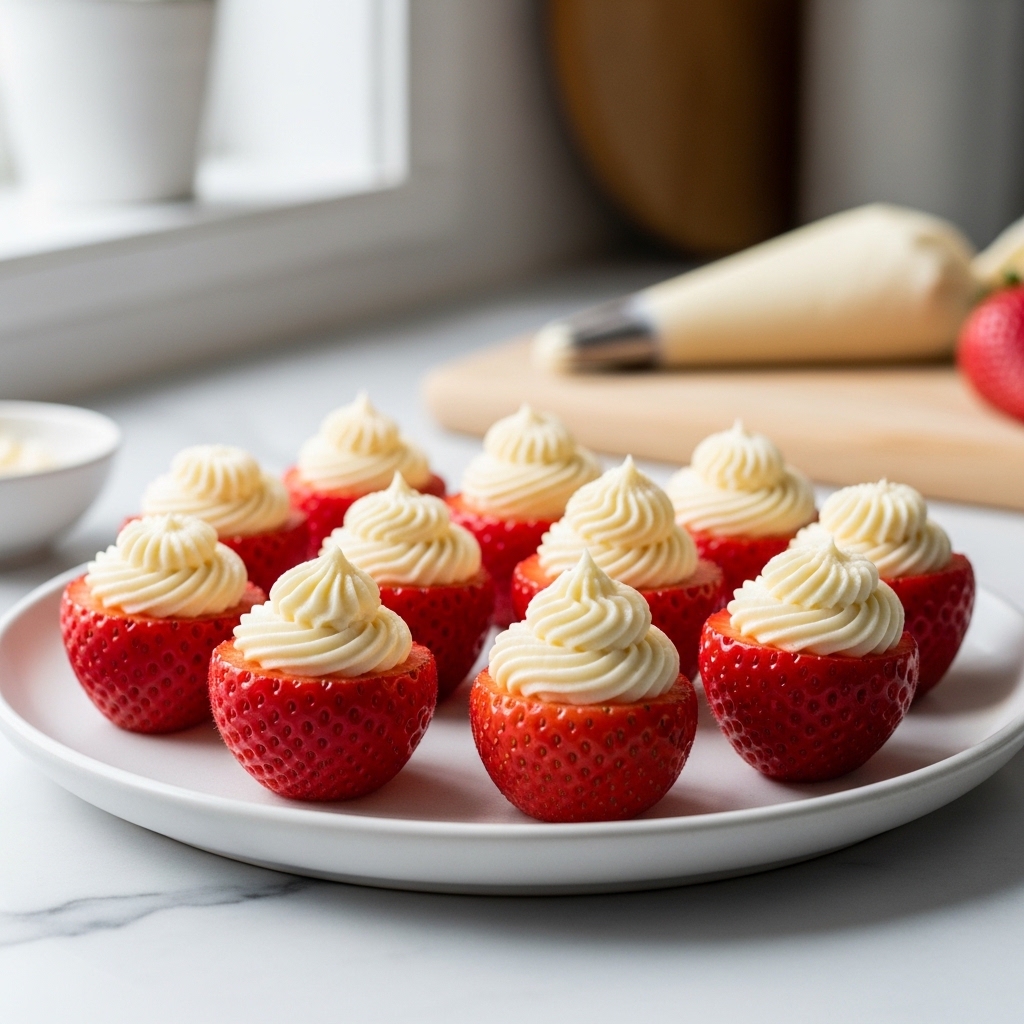
Let’s fill ’em up! This part can get a bit messy, but that’s part of the fun, right? You have options for how you get the filling inside. The easiest way for me is using a piping bag, but you don’t need fancy equipment. A good old Ziploc bag with the corner snipped off works just fine.
Load your bag with the cheesecake mixture and gently squeeze it into each hollowed strawberry. Let it mound slightly at the top; it looks so professional that way. It’s kinda satisfying to watch them fill up. Alternatively, use a tiny spoon if you have serious patience (which I clearly do not).
I prefer filling them right before serving. However, if you must, they can chill in the fridge for a few hours. Just remember that strawberries start to get slightly soft once you cut them, so shorter chill times are definitely better.
Filling Techniques
- Use a piping bag for the cleanest, fastest method.
- A Ziploc bag with a cut corner is a perfect hack.
- Try a small spoon if you’re feeling really patient.
Section 5: The Crucial Graham Cracker Crunch
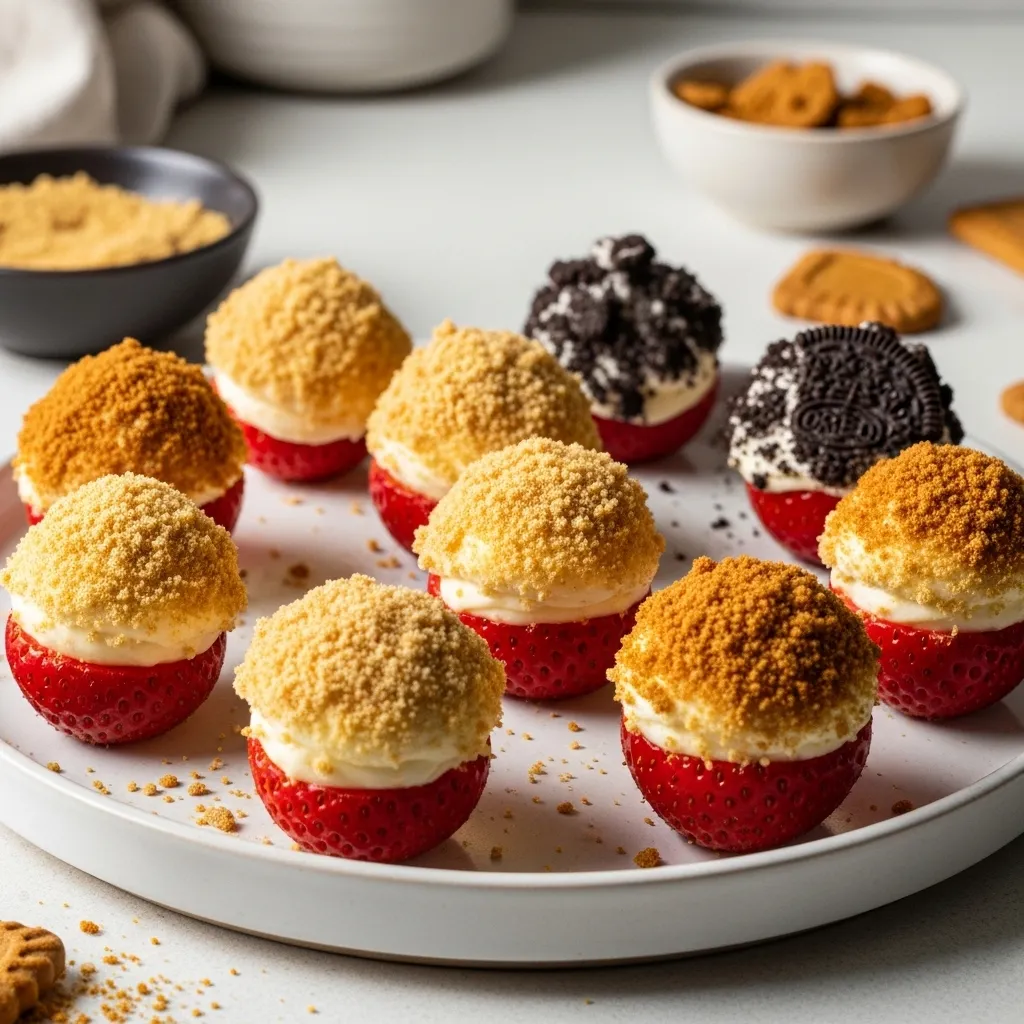
What’s a cheesecake without the crust? Not a very good one, in my humble opinion. We’re going to use graham cracker crumbs to mimic that satisfying texture. It really completes the whole experience.
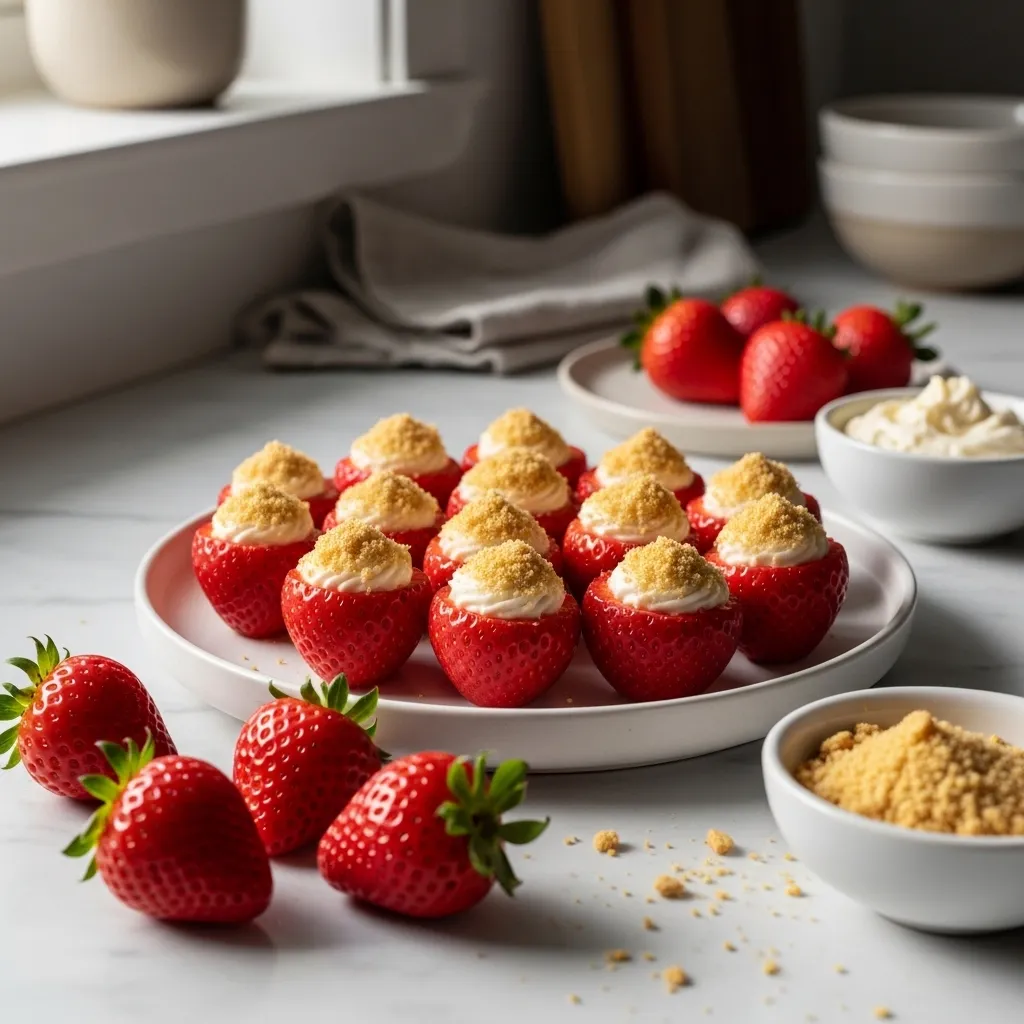
Once you’ve filled all your strawberries, grab a small bowl of graham cracker crumbs. Gently dip the tops (the cheesecake filling part) directly into the crumbs. You could also sprinkle the crumbs over the top if you’re worried about smashing your beautiful piping work.
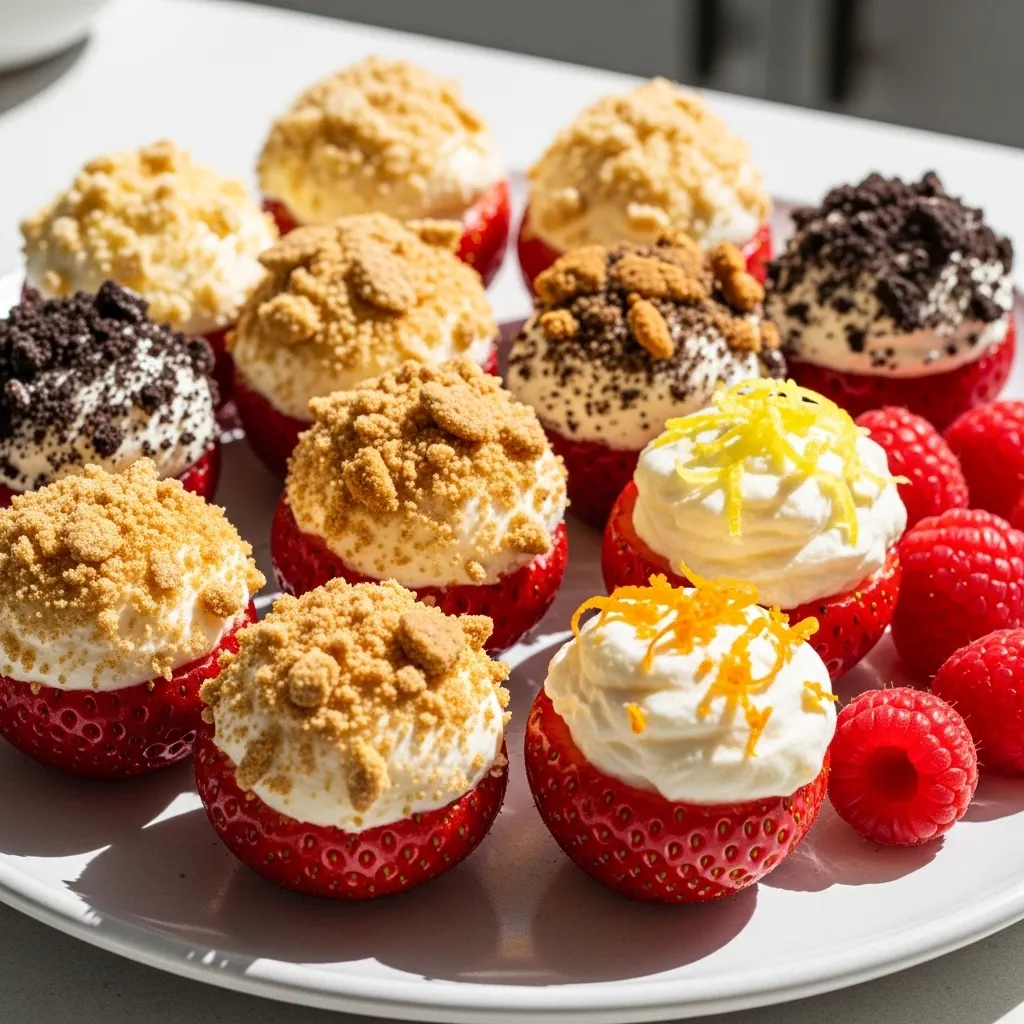
Want to get even fancier? Try using crushed Oreos or Biscoff cookies instead of graham crackers. OMG, Biscoff is incredible. This simple step adds the perfect contrast—creamy filling, juicy berry, and crunchy top. You can crush the crackers yourself in a bag with a rolling pin or buy them pre-crushed. Do whatever is easier for you!
Graham Cracker Tips
- Gently dip the tops into graham cracker crumbs.
- Experiment with Oreos or Biscoff cookies for a different vibe.
- Use pre-crushed crumbs if you’re short on time (like I always am).
Section 6: Can I Add More Toppings? (Yes, Always!)
Okay, look. Five ingredients is great, but sometimes I need to be a little extra. Can you blame me? If you want to really impress people, you can add a few simple garnishes that make these bites look like they came from a fancy bakery.
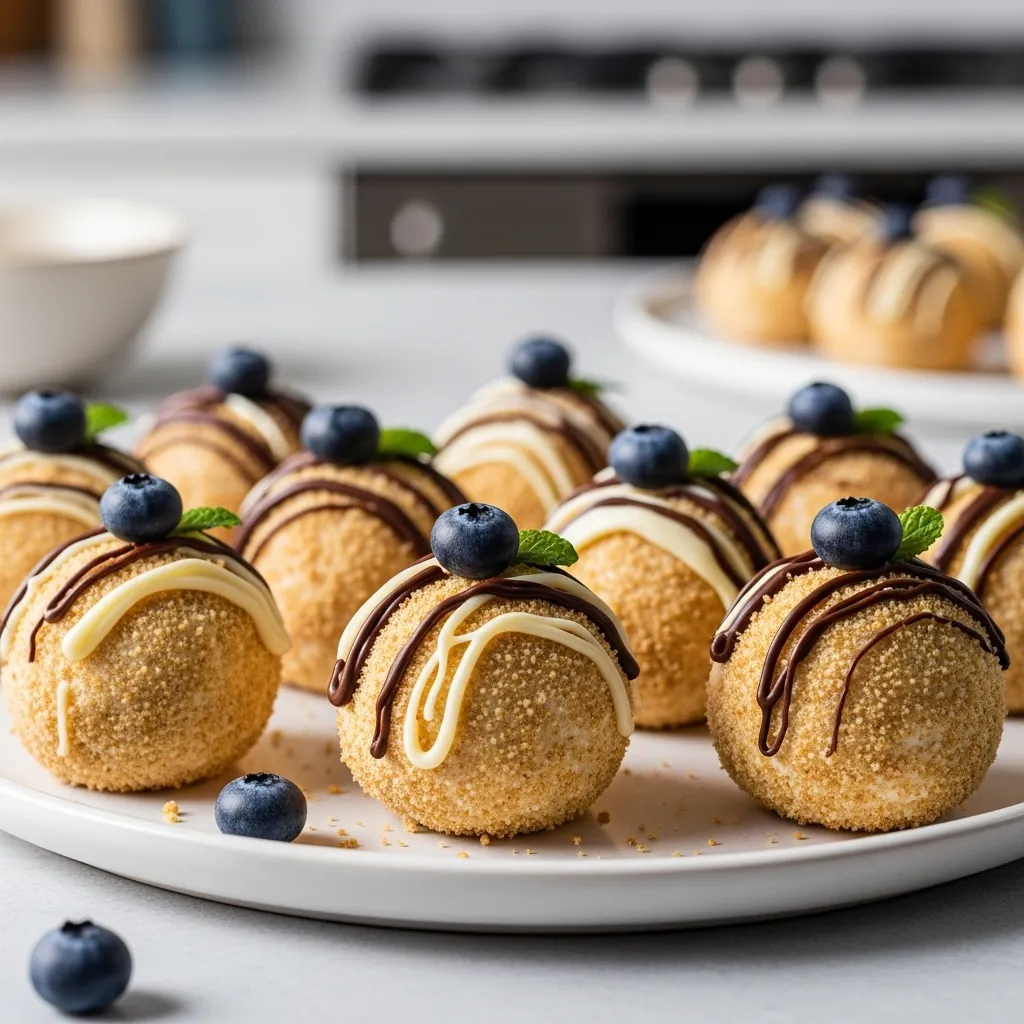
I love drizzling a little melted chocolate over the finished bites. White chocolate looks elegant, but dark chocolate or milk chocolate is fantastic too. You can also add a tiny blueberry or a teeny mint leaf right on top of the graham cracker crumbs for a nice pop of colour and flavor.
Don’t go overboard, though. The beauty of these bites is their simplicity, so just pick one or two garnishes at most. Less is usually more when it comes to elegant desserts. FYI, these look amazing on a simple platter. 🙂
Extra Topping Ideas
- Drizzle with a little melted white or dark chocolate.
- Place a single blueberry right on the top.
- Garnish with a tiny mint leaf for a pop of color.
Section 7: Serving and Storage Secrets

You’ve made these delicious bites, and now it’s time to serve them (and eat most of them yourself). I strongly believe these are best served the same day you make them. Strawberries get soft pretty quickly once you prep them.
Keep the filled strawberries in the refrigerator until right before you want to serve. If you have leftovers (as if!), store them in an airtight container in the fridge for up to one day. Any longer and the graham crackers get soggy and the strawberries leak juice, which is… not great.
Remember, once you’ve filled the berries, the clock is ticking. The crisp texture of the graham crackers and the perfect juiciness of the fresh berry are key. Plan accordingly, friends!
Serving & Storing Tips
- Serve immediately or keep chilled until ready to serve.
- Store any leftovers in an airtight container in the fridge.
- Consume within 24 hours for the best texture.
Section 8: Making Them Ahead (Kinda)
Can you prepare these ahead? Yes and no. I get asked this constantly, and the answer is always a bit tricky. You cannot assemble them fully ahead of time, but you can certainly do most of the prep beforehand. This is what I always do!
First, you can make the filling a day or two in advance. Store it in an airtight container in the fridge. Secondly, you can even hull and hollow out your strawberries earlier in the day and keep them chilled and dry. That saves a ton of time right before people arrive.
Lastly, you can have your crumbs ready. When it’s finally go-time, all you have to do is quickly fill the berries and dip them. This saves you so much time and stress. See? Preparation is everything.
Smart Prep Steps
- Make the cheesecake filling up to two days ahead.
- Hollow out strawberries earlier in the day (keep dry!).
- Assemble right before serving for the perfect texture.
Section 9: Variations to Shake Things Up
Feeling adventurous? While the 5-ingredient version is classic for a reason, you can totally customize this basic idea. Who says it has to be graham crackers and vanilla?
Instead of plain graham crackers, use crushed gingersnaps for a little spice. IMO, that’s a game-changer. Try adding a little lemon zest or orange zest directly into the filling for a brighter, citrusy flavour that cuts through the richness.
Think beyond strawberries, too! Raspberries would also be incredible prepared this way, although hulling them is definitely a bigger pain. But imagine? It’s totally worth trying at least once, right? Your call! Just have fun and see what you like.
Fun Variations to Try
- Mix lemon zest into the filling for a brighter flavour.
- Use crushed gingersnaps or Oreos for the topping.
- Substitute raspberries for the strawberries (if you have patience!).
Section 10: Troubleshooting Simple Problems
Things go wrong sometimes. Even with a recipe this ridiculously simple, minor issues can pop up. Let’s talk about how to fix them so you don’t panic.
If your filling is too thin, it might be because your cream cheese was too warm or you overmixed it. Try chilling the filling for 30 minutes before piping. If your filling is lumpy, it’s probably because your cream cheese was too cold when you started. It’s tough to fix, but try microwaving it for like, 5-second bursts (seriously, only 5!) and then mix like crazy.
What if your strawberries leak everywhere? That usually means you filled them too far in advance. Pat them dry with a paper towel and add more crumbs. Easy peasy! Don’t let little hiccups ruin your fun.
Quick Fix Guide
- If the filling is too thin, chill it for 30 minutes.
- If the filling is lumpy, use slightly softened cream cheese next time!
- If strawberries leak, pat them dry and re-dip in crumbs.
Seriously, how incredibly simple are these 5-Ingredient Strawberry Cheesecake Bites? You get all the amazing flavour of cheesecake without any of the actual baking. Perfect for parties, Valentine’s Day, or, you know, just a Tuesday night when you need something sweet. No judgment here. Ever tried making these? If not, you’re missing out, big time! Do yourself a huge favour and whip up a batch tonight. You’ve earned it! It’s the ultimate low-effort, high-reward dessert, and who doesn’t love that? Enjoy!